Computer Graphics Tutorials
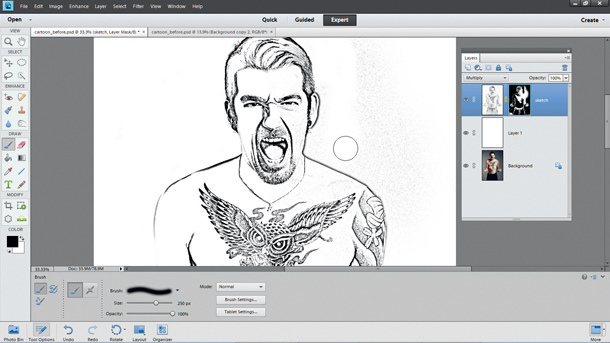
Cartoon Spouse - Basic Photoshop Editing
1. Draw / Ink with thick Sharpie
2. Scan into Photoshop
3. Image>Adjustments>Contrast
4. Duplicate your layers
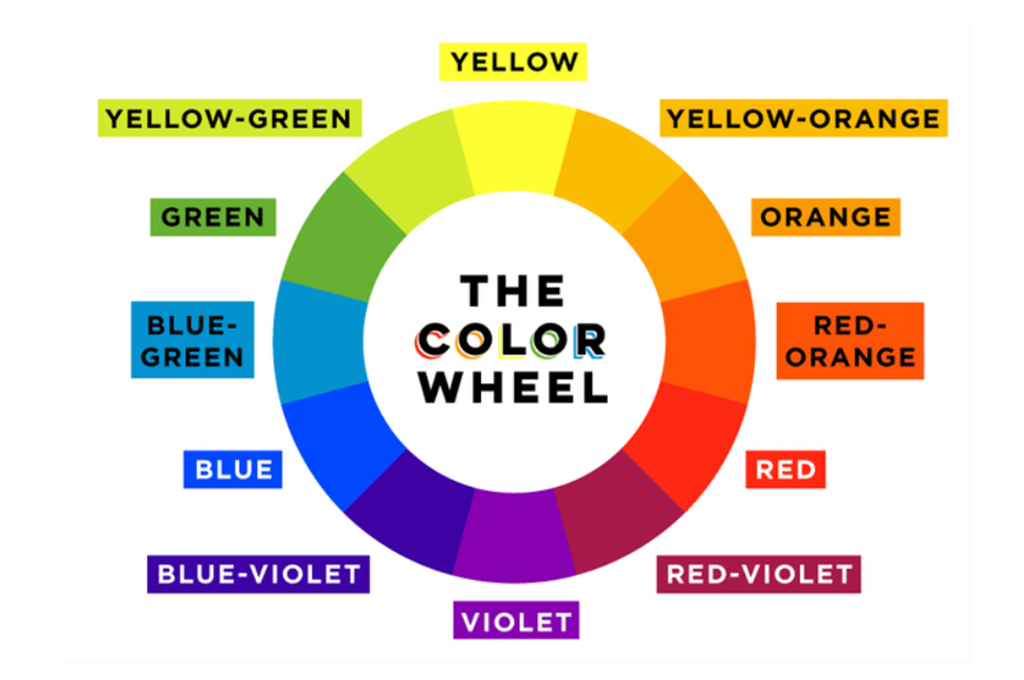
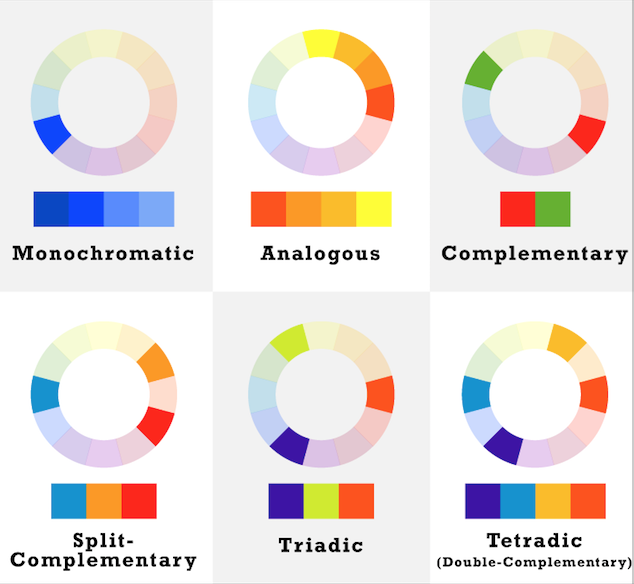
5. Choose colors
6. Paint Bucket or Gradient - Fill
7. Save to flash drive/my documents
8. Post in your website
2. Scan into Photoshop
3. Image>Adjustments>Contrast
4. Duplicate your layers
5. Choose colors
6. Paint Bucket or Gradient - Fill
7. Save to flash drive/my documents
8. Post in your website
Cartoon Spouse
Using the TEXT tool tutorial.
Plastic Text Tutorial

3-D Text Tutorial

30 Beautiful Photoshop Text Effect Tutorials
http://sixrevisions.com/graphics-design/photoshop_text_effect_tutorials/
Self-Portrait Manipulation Tutorial
Masking Basics in Photoshop
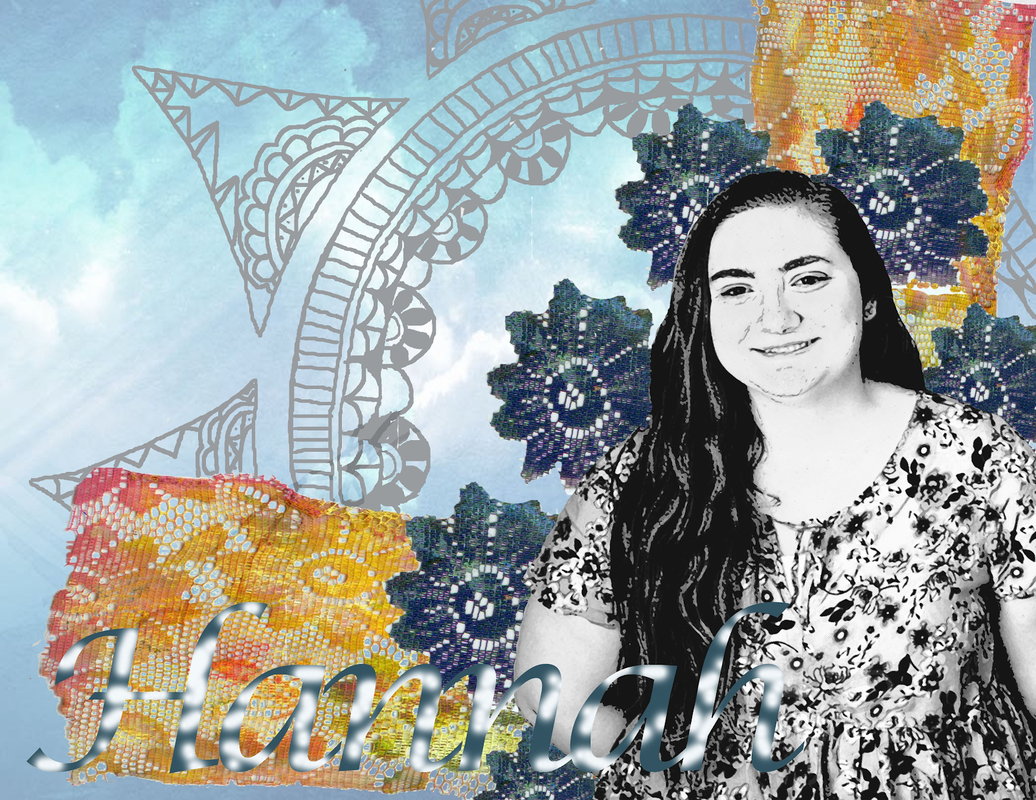
Self-Portrait Manipulation - Project Steps
1. Open Adobe Photoshop
Resource Images
2. Scan images or open from a USB drive or from a folder on your computer.
- Self-Portrait - Background Image - Other resources?
Creating Your Image
3. Open a new document. 11 inches by 8.5 inches at 300 pixels per inch
4. Drag your resource images into the new document using the MOVE tool.
5. TRANSFORM your resources to the size you would like them to be in your image.
6. Define the order of the images by dragging the LAYERS to the order you want them.
Place a Different Background Behind your Portrait
7. MASK (this is a special erase tool) the background of your portrait.
- For example: Mask out the blue background in your school photo and replace it with an image of the jungle.
Use FILTERS and IMAGE > ADJUSTMENTS to create interesting effects.
Use the TEXT tool to put your name somewhere in the image.
Use LAYER > STYLES to add interesting effects to your name.
Photoshop Shapes – Add, Subtract, Intersect and Exclude

Creating Custom Shapes in Photoshop
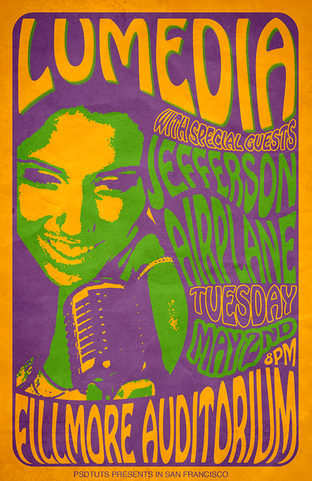
Psychedelic Poster Tutorial
Use this tutorial for the TEXT only.
Money-Style Portrait
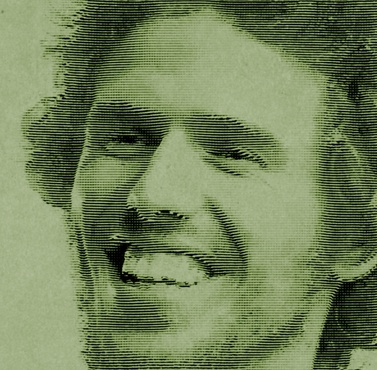

Paper Currency Examples


Create a Pattern in Photoshop
Turn a Photo into a Cartoon